
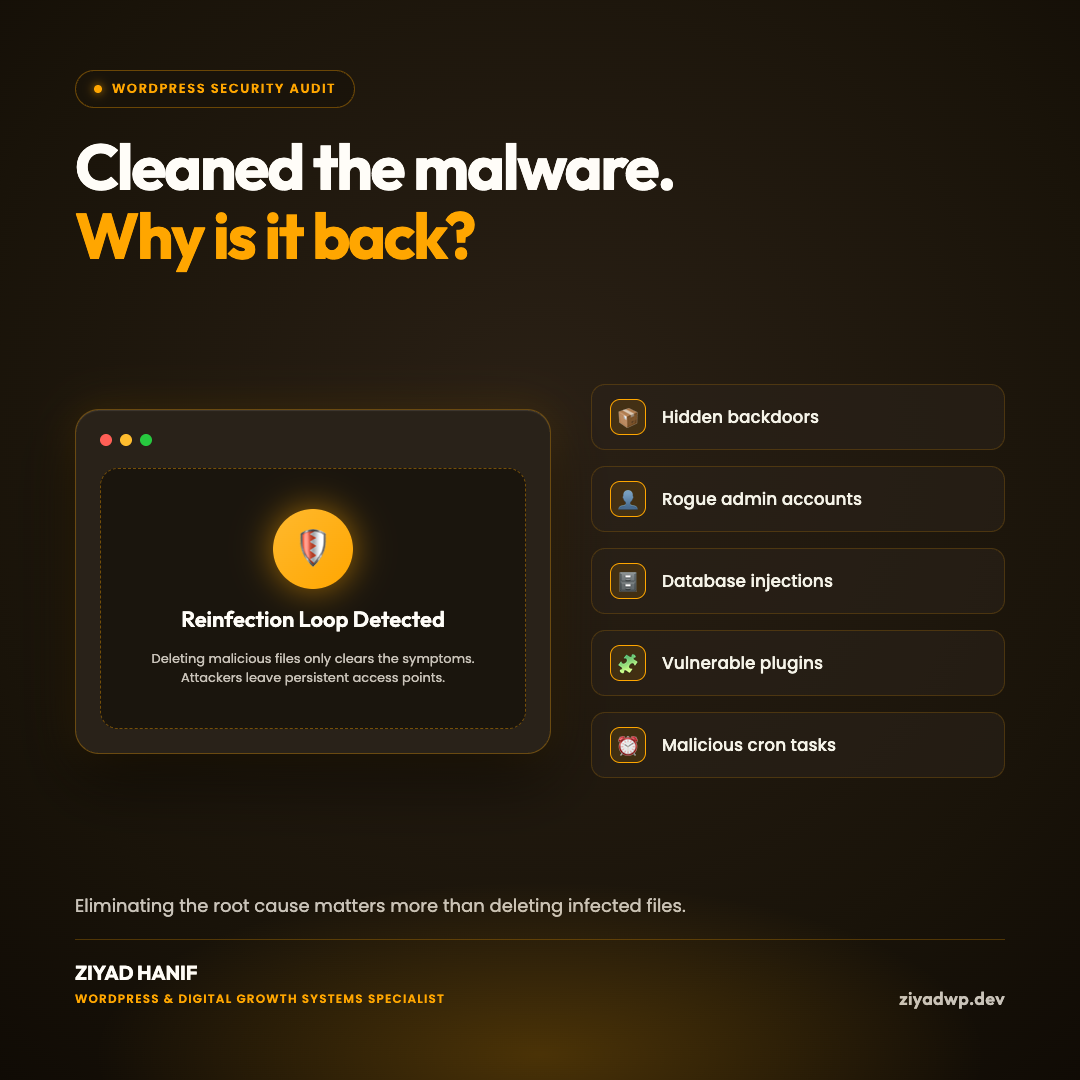
Recurring WordPress malware infections are one of the most frustrating challenges site owners and developers encounter. When malicious code reappears shortly after being cleaned, it usually indicates that the visible code was only a payload—a symptom of an ongoing, unmitigated compromise.
To stop reinfections permanently, you have to shift your focus from cleaning symptoms to finding and removing root causes. Follow this step-by-step diagnostic workflow to systematically locate and eliminate persistent WordPress infections.
01 Check for Hidden Backdoors
A backdoor is a standalone script or modified core file that enables an attacker to regain unauthorized access even after security plugins remove obvious malicious scripts.
High-Risk Locations for Hidden Backdoors
wp-content/uploads/: Media directories should only contain images, documents, and videos. Any executable.phpfile inside your uploads tree is almost certainly malicious.- Modified Core Files: Attackers often insert obfuscated payloads into legitimate core files like
index.php,wp-blog-header.php, or files in/wp-includes/. Compare your installation against fresh checksums from official WordPress releases using WP-CLI (wp core verify-checksums). - Obfuscated PHP Code: Search for suspicious functions like
eval(),base64_decode(),gzinflate(), andassert(), especially where long encoded strings appear on a single line.
Pro Tip: Clean Core Replacement
Never attempt to manually disinfect modified core directories. Download a fresh archive directly from WordPress.org and overwrite your /wp-admin/ and /wp-includes/ folders completely with known clean copies.
02 Audit Administrator Accounts & Access Keys
An attacker who created an administrative account or harvested valid authentication tokens does not need an exploit to re-infect your site—they can simply log in through wp-login.php and install rogue plugins or edit theme files at will.
Access Verification Checklist
- Inspect
wp_users: Query your user table for any administrative accounts not created by your team. Look closely at subtle typosquatting usernames (e.g.,admin_supportorsys_backup). - Verify User Registration: Check
Settings → Generalin your WordPress dashboard to confirm that "Anyone can register" is unchecked and that the default user role is set to Subscriber. - Rotate Salt Keys & Passwords: Invalidate all active user sessions by generating fresh security keys in
wp-config.phpusing the official WordPress salt generator. Immediately change passwords for all admins, your database user (DB_PASSWORD), hosting control panel, and FTP/SFTP accounts.
03 Inspect Database Injections
Malware does not reside exclusively within the file system. Many persistent infections embed malicious payloads directly inside your MySQL database.
Critical Tables to Scan
wp_options: Search for rogue JavaScript tags or external redirect URLs insidesiteurl,home, and autoloaded options. Attackers frequently use autoloaded transients to inject conditional redirect scripts that fire only for mobile visitors or search engine referrals.wp_postsandwp_postmeta: Scan for injected<script>tags, hidden<iframe>embeds, or spam link farms inserted into existing post content.
Important Caution
Always create a verified SQL database dump before running cleanup queries or deleting database records. A botched search-and-replace can corrupt serialized data structures.
04 Identify Vulnerable Plugins & Themes
Cleaning existing files without patching the original entry vector is like mopping the floor while the faucet is still running. If a plugin with an unauthenticated arbitrary file upload vulnerability remains active, an attacker can re-upload their payload within minutes.
Remediation Steps
- Cross-Check CVE Databases: Verify all installed plugins against active vulnerability databases such as WPScan, Wordfence Intelligence, and the National Vulnerability Database.
- Remove Abandoned Extensions: Deactivate and delete plugins that have not received developer updates in the last 12 months.
- Replace Nulled Software: Pirated or "nulled" premium themes and plugins frequently ship with pre-installed backdoors designed to reinstall malicious payloads on demand.
05 Review Cron Jobs & Persistence Tasks
Automated repeating tasks are among the most common ways malware achieves persistent survival on web servers.
Persistence Inspection Checklist
- Inspect WordPress Cron: Check active scheduled events via WP-CLI (
wp cron event list) for unfamiliar hooks or tasks pointing to non-existent plugins. - Review Server Crontabs: Access your server via SSH or cPanel cron manager and run
crontab -lto verify that no hidden shell scripts are scheduled to download malicious payloads at regular intervals. - Examine Server Rules: Check your
.htaccess(ornginx.conf) files. Malicious directives can append unauthorized PHP code to every executed request using directives likeauto_prepend_file.
06 Verify Server-Level Account Isolation
If you host multiple WordPress websites under a single cPanel account or server user, an infection in one site can easily cross-contaminate every other site sharing that filesystem root.
- Isolate production websites into independent user accounts with dedicated directory permissions.
- Set standard filesystem permissions: directories should be
755and files644. Ensurewp-config.phpis restricted to600or640.
Investigation Summary Checklist
| Investigation Stage | Primary Location | Recommended Action |
|---|---|---|
| Backdoors | Uploads directory & core files | Remove rogue PHP files; overwrite core with clean copies |
| User Credentials | wp_users & salt keys |
Remove unauthorized admins; rotate all passwords and salts |
| Database Integrity | wp_options & wp_posts |
Clean injected script tags and verify siteurl integrity |
| Entry Point | Vulnerable plugins & themes | Update or replace outdated, vulnerable, or nulled code |
| Persistence Tasks | WP-Cron & server crontabs | Remove unauthorized background jobs and .htaccess directives |
| Host Isolation | Shared hosting roots | Separate websites into isolated user accounts |